Inversion Table Recommendation
This model is no longer available. We recommend the Ironman IFT 4000 Infrared Therapy Inversion Table, Teeter FitSpine X3 or another model included in our roundup of the best inversion tables for back pain.
Are you ready to turn your life upside down? Well, let’s take a look at the Ironman IFT 1000 Infrared Inversion Table and see if we can do just that. I will examine the features of this inversion table and see if it deserves your hard earned money. This table includes an element that most don’t, and we will get into that as well.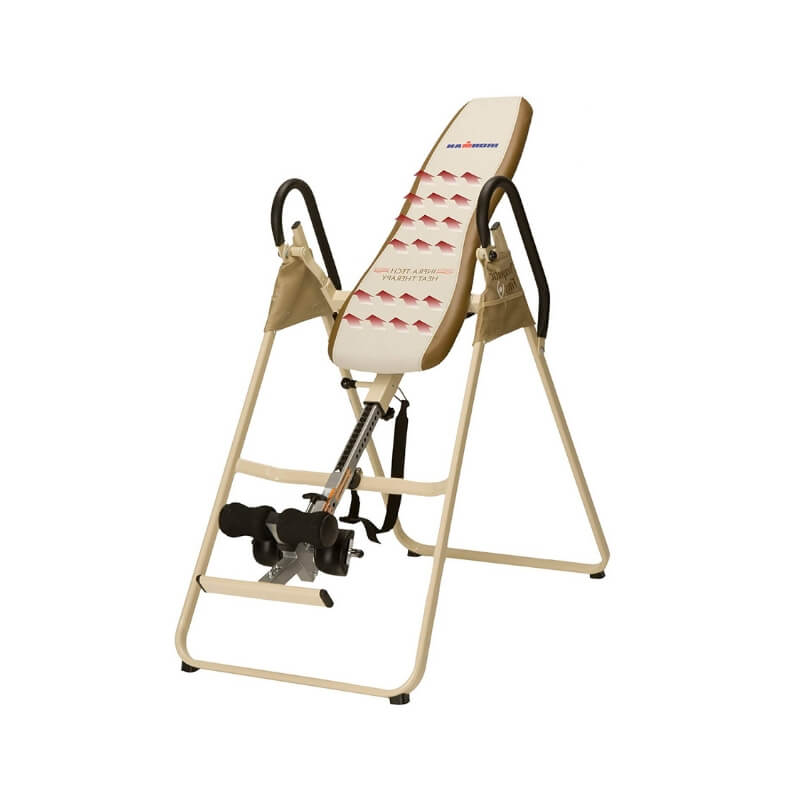
If you deal with back pain as I do, you have probably tried a lot of different “fixes.” The causes of back pain are numerous. Some people have tight lower back muscles, others, have more complicated issues like a herniated disc.
I deal with chronic sciatica, pain that radiates down my right leg and I use an inversion table to help with the pain.
People tend to do a lot of sitting these days, which can lead to tight muscles in the lower back. Using an inversion table can help to stretch these muscles and provide some relief.
The idea behind inversion therapy is that by hanging upside down (partially or entirely) this helps to elongate the spine, allowing the discs (which act as shock absorbers) a chance to recover.
If you tried other treatments, and have not had any success, you may want to talk to your doctor and see if an inversion table might be right for you.
With that in mind, let’s take a look at this innovative inversion table.
Product: Ironman IFT 1000 Infrared Inversion Table
Rating: 87 out of 100
Company: Ironman
Dimensions: (open) 49” D x 25” W x 26” H (folded) 17” D x 25” W x 80” H
Product weight: About 60 pounds
User height: For users up to 6’6”
User weight limit: 275 pounds
Features
Infrared heat
Well, one feature that stands out from other tables (eluded to earlier) is that this table comes equipped with infrared heat therapy. Infrared heat penetrates deeper than a traditional heating pad. This can be a great addition when you are trying to loosen up sore and tight muscles. Heat can also be therapeutic if you are nursing a back injury.
Along with heat therapy, the unit has a remote control which will allow you to control the time and temperature for the heat. It takes about 10-15 minutes to heat up so you will want to plan accordingly.
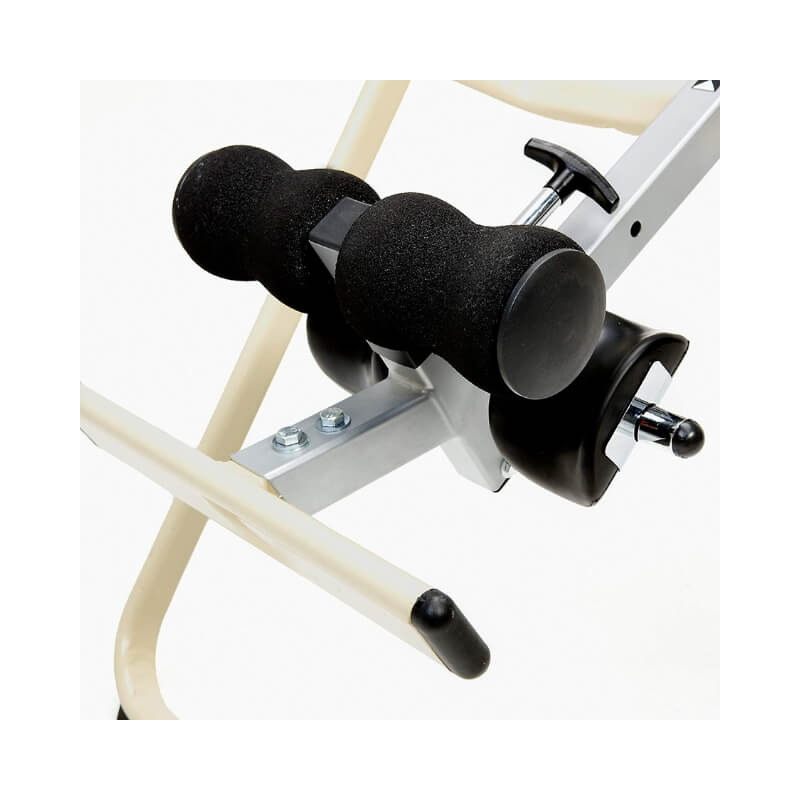
Ankle system
I think the ankle locking system is one of the most critical components of an inversion table. After all, this is what will be holding you when you are inverted. This system consists of the footrest, ankle cushions, and the locking/release handle. I will get into each of these components individually.
I usually like to see a footrest that is easily adjustable. This is helpful for different users to get the right fit. With this model, you have to unscrew and select the right height, then screw it back together, so not ideal, but the option is there. With this system, you will need to kind of set it and forget it.
The ankle cushions include U-shaped foam pads for the backs of the lower leg and foam rollers for the front. This is a somewhat standard and comfortable set up.
The handle is what locks you in place. You want a secure, but not too tight fit. The only downfall of this handle is that it is short. I will touch on why I don’t recommend a short handle and why I prefer a longer one.
A short handle means you have to bend over further to lock your legs in or release from the inversion table. This can be a real problem if you have back pain or a problematic back. When I was dealing with a herniated disc, I had a tough time bending over. So, a longer handle is something I always look for and recommend when choosing an inversion table.
![]()
User height adjustment
Another feature that is pretty darn standard on inversion tables is adjusting for the user height. Ultimately, you want to be able to rotate in and out of inversion using just your arm movements, the user height adjustment plays into this.
There are markings on the height adjustment tube or boom. You can pull out the pin, choose the right height setting and then secure the boom. Hopefully, it is that easy for you. But, since everyone has a different center of gravity, you may have to adjust the user height slightly.
In case you cannot return to upright using your arms, there are foam covered handles that you can use to pull yourself up. Again, you want to be able to operate the unit with arm movements, so getting it appropriately balanced is essential.
This table is also equipped with pivot handles which can also be used to help with balancing your table. You just have to make sure each handle is set to the same hole on each side of the table.
Inversion angle adjustment
Setting the inversion angle is easy using the tether strap. You can literally set any angle you want. That’s the beauty of the strap versus a table with preset angles. I will explain that here as well.
When I was recovering from an injury in 2015 and was able to start using my inversion table, I had to start at a shallow angle, like 15 degrees. As I recovered, I could increase the angle, in small increments, over time. The tether strap allows you to do this.
The preset angle variety only allows you to move in fifteen to twenty-degree increments. I was not able to make a jump that big when I was recovering. Sorry for the long-winded explanation, but I think this is another crucial aspect to consider.
Assembly
Yep, assembly is required. The instructions are thorough, so if you are able to follow along and own a few tools, it shouldn’t be too bad. One thing I highly recommend is having a helper. Inversion table parts are heavy and awkward, especially if you have a back injury, so a helper is great to have.
Another thing to note is to be sure to follow the directions carefully when routing the wiring for the heating pad.
Storage
Although it’s foldable, inversion tables are not easy to store. My advice is to set up in a room where you can fold it up and lean it against the wall when you are not using the table. I have been through taking the backrest off, folding the frame up and trying to get it under the bed. This is a significant pain (no pun intended), especially if you have a bad back.
So, set up in a basement, or other space where you can have easy access, and space to lean the unit against the wall when you are not using it.
Pros:
- Heating element
- Tether strap for angle adjustments
- Reasonably well priced for including the heating pad
- Thick, comfortable backrest
Cons:
- User weight limit is low compared to other models
- Short ankle release handle
Conclusion: Ironman IFT 1000 Infrared Inversion Table
Whew, that about covers it. If you are looking for an inversion table with a heating element, I think this model deserves consideration. It is relatively well priced for including the heated backrest.
The things I don’t really care for, or think you need to consider are the short release handle (may not be a problem for you) and the user weight limit of 275 pounds. Most tables have a max user weight limit of 300 pounds. This may not be an issue, but it’s worth pointing out.
Given that, I think this is a solid value. If you are not interested in the heating element, there are other inversion tables for low back pain to choose from as well.